Git Staging Area Explained: What git add Really Does
The Git staging area is the place where you prepare the next commit.
That is the short version. The more useful version is this: git add does not "save" a file. It takes the current version of a file, or part of a file, and puts that version into a proposed commit. Until you run git commit, you can still change your mind.
This is one of the Git ideas that feels unnecessary at first and then becomes useful. The staging area lets you separate "what I changed" from "what I want to record right now".
The Three Places Git Cares About
When you are editing a project, Git is comparing three places:
- The last commit.
- Your working directory.
- The staging area.
The last commit is the saved version of the project. Your working directory is the files you are editing right now. The staging area is the draft of the next commit.
You can think of a commit as a package you are about to send. The working directory is your desk, with everything you are currently touching. The staging area is the package contents. git add puts things into the package. git commit seals it and writes the label.
That separation matters because real work is messy. You might fix a typo, add a feature, change a config file, and leave a debug line in the code before you notice that these changes should not all go into the same commit.
A Minimal Example
Create a small repository:
mkdir staging-demo
cd staging-demo
git init
Now create a file:
printf "Project notes\n" > README.md
git status
Git will show README.md as an untracked file. It can see the file, but it is not part of the repository history yet.
Stage it:
git add README.md
git status
Now README.md appears under "Changes to be committed". This means Git has prepared the file for the next commit.

Commit it:
git commit -m "Add project notes"
After that, git status should say that the working tree is clean.
If the word commit still feels abstract, read What Is a Git Commit? next. The staging area prepares a commit; the commit records the prepared snapshot.
Staged Does Not Mean Finished
Here is the part that surprises beginners: staging a file does not create a permanent save point. It only updates the next commit draft.
Change the file:
printf "Remember to document setup steps.\n" >> README.md
git status
Git reports the file as modified. Stage it:
git add README.md
git status
Now edit the same file again:
printf "Temporary note: check this later.\n" >> README.md
git status
At this point Git can show the same file in two sections:
Changes to be committedChanges not staged for commit
That looks strange until you remember what staging means. Git staged the version of README.md that existed when you ran git add. Then you changed the file again. The staged version and the working-directory version are no longer the same.
If you commit now, only the staged version goes into the commit. The later "Temporary note" line stays in your working directory.
Check What You Are About To Commit
Before committing, get into the habit of checking the staged diff:
git diff --staged
This shows the exact changes that will go into the next commit.
Plain git diff shows unstaged changes:
git diff
So a useful commit routine is:
git status
git diff
git diff --staged
git commit
You will not run every command every time, but the distinction is important. git diff answers "what did I change but not stage yet?" git diff --staged answers "what am I about to commit?"
Unstage Without Throwing Work Away
If you staged something by mistake, remove it from the staging area:
git restore --staged README.md
This does not delete your work. It keeps the file changes in your working directory and removes them from the next commit draft.
That is the command to reach for when your status output says something is ready to be committed, but you want to keep editing before it becomes part of history.
Stage Only Some Changes
The staging area becomes much more powerful when you stage only part of a file.
Use patch mode:
git add -p README.md
Git will show one changed section at a time and ask what to do with it. The common answers are:
y: stage this change.n: skip this change.s: split the change into smaller pieces when possible.e: edit the patch manually.q: quit patch mode.
This is useful when one file contains changes for two different commits. For a deeper walkthrough, see Add Specific Lines With Git Patch.
When To Use git add .
git add . stages changes under the current directory.
It is easy to stage more than you intended. Before using it, check:
git status
After using it, check:
git diff --staged
If the staged diff contains generated files, local config, or unrelated edits, unstage them before committing.
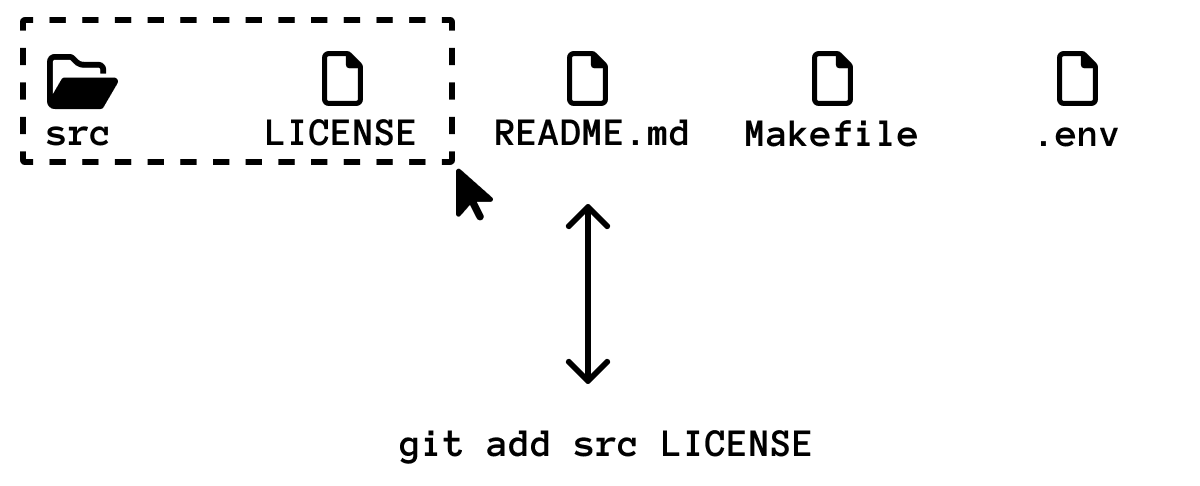
For beginner work, I prefer explicit paths:
git add README.md
git add src/app.js
Once you are comfortable reading git status and git diff --staged, git add . becomes safer because you have a verification habit.
Exercises
Exercise 1: Stage a New File
Create a new repository and add a README.md file.
Run:
git status
git add README.md
git status
git commit -m "Add readme"
Expected result: before git add, the file is untracked. After git add, it is listed as a change to be committed. After git commit, the working tree is clean.
Exercise 2: Stage One Version, Then Edit Again
Add one line to README.md, stage it, then add a second line.
Run:
git status
git diff
git diff --staged
Expected result: git diff --staged shows the first line. git diff shows the second line.
Exercise 3: Unstage Safely
Stage a modified file, then unstage it:
git add README.md
git restore --staged README.md
Expected result: the file still contains your changes, but it is no longer staged for commit.
Exercise 4: Practice Patch Mode
Make two separate changes in the same file. For example, fix a typo near the top and add a new paragraph near the bottom.
Run:
git add -p README.md
Stage only one of the changes. Then check:
git diff
git diff --staged
Expected result: one change is staged and the other remains unstaged.