How To Make Your First Video In Mont
The fastest way to understand Mont is to make one small video from start to export.
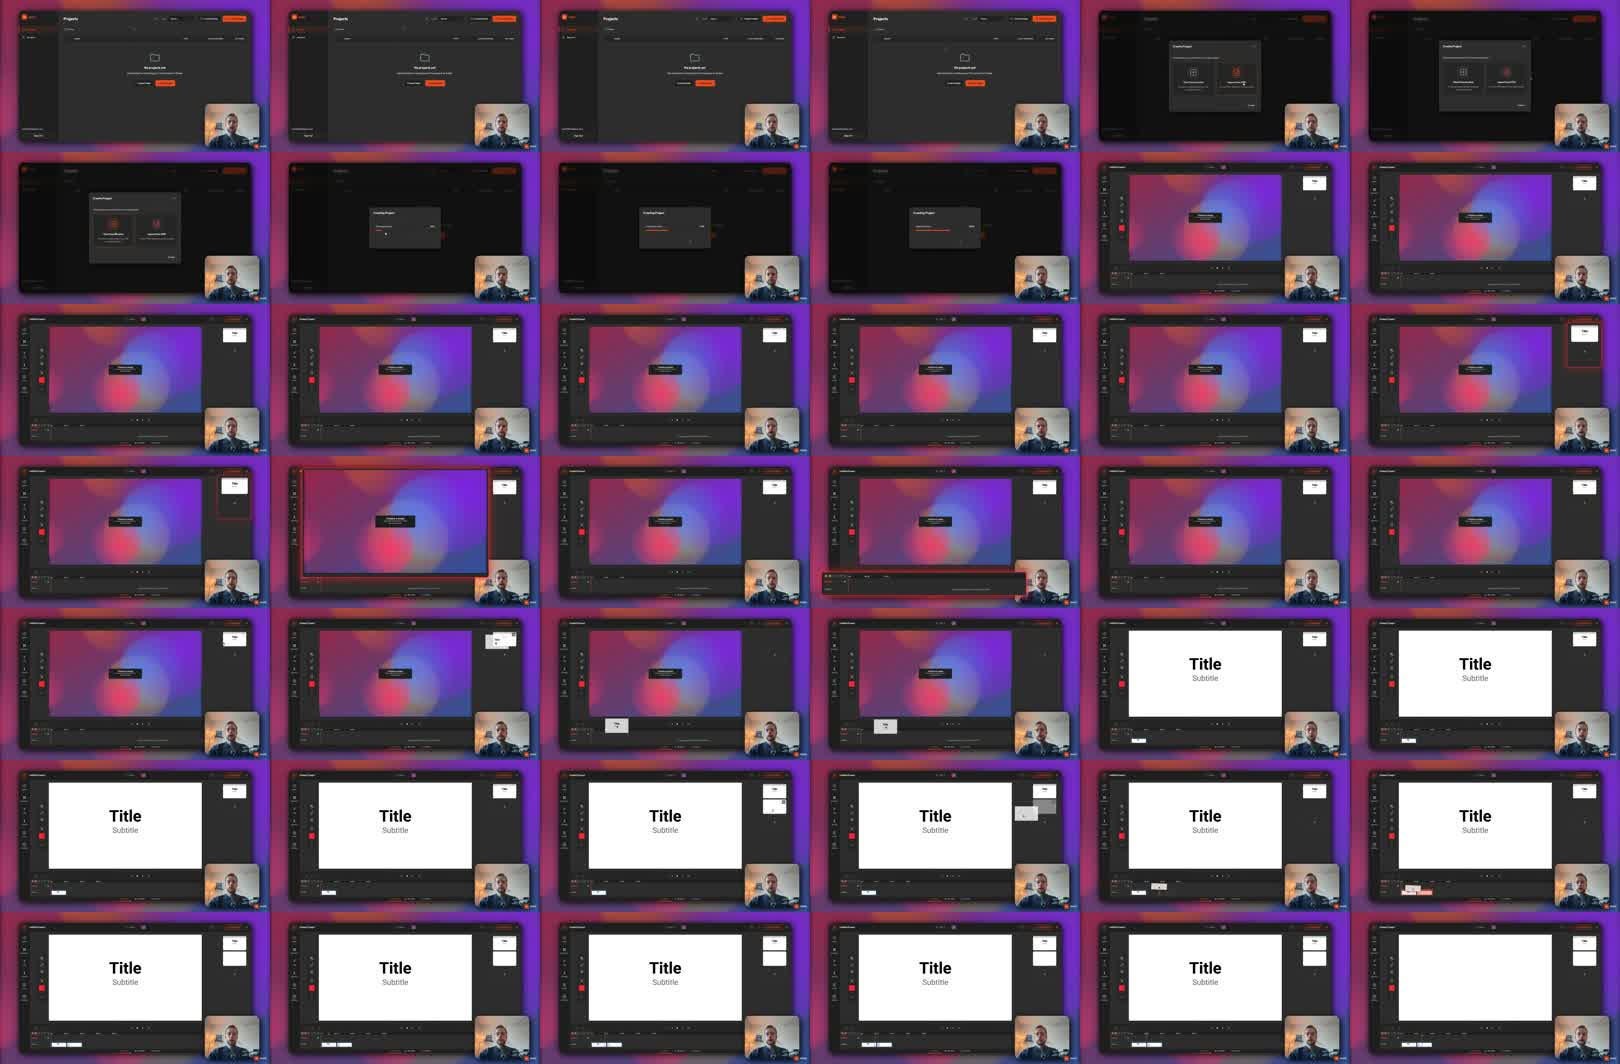
This post is adapted from a YouTube tutorial about making your first video in Mont. It walks through a simple flow: create a project, add slides, record camera or voiceover, adjust the layout, and export the result.
The Short Version
To make your first video in Mont:
- Create a new project from the dashboard.
- Start from scratch.
- Add slides or video clips to the timeline.
- Arrange the flow.
- Record camera or voiceover.
- Adjust slide content, position, and styling.
- Export the finished video.
The workflow is closer to making a slide-based product video than editing a raw timeline from scratch.
Step 1: Create A Project
From the dashboard, choose Create Project.
For a first attempt, start from scratch. You do not need a complicated template. The goal is to understand how Mont thinks about video structure:
slides + recordings + timeline + export
A simple project is easier to reason about than a polished one.
Step 2: Add Slides Or Clips
Add the assets you want to use as the base of the video.
For a product demo, that may be screenshots. For a presentation, it may be slides. For a tutorial, it may be short clips or visual steps.
Put them on the timeline in the order the viewer should see them.
The first pass does not need perfect timing. Focus on the flow:
intro -> feature screen -> explanation -> result -> call to action
If the story feels wrong, reorder the slides before you record anything.
Step 3: Record Camera Or Voiceover
Once the visual flow is in place, switch to recording.
For a simple first video, record only the camera or voiceover over the existing timeline. That gives the video a human explanation without forcing you to record the whole screen live.
The useful part is separation:
- slides stay editable,
- camera stays editable,
- timing stays adjustable,
- narration can be replaced if needed.
That is less fragile than one flattened screen recording.
Step 4: Edit The Timing
After recording, go back to edit mode and adjust the spans on the timeline.
This is where the video starts to feel intentional. If one slide is too short, extend it. If the narration pauses before the next visual, move the slide. If the camera should appear in a different part of the frame, reposition it.
Small timing edits matter because they decide whether the viewer understands the sequence.
Step 5: Edit The Slide Content
If a slide needs a copy change, double click it and edit the content.
That is one of the benefits of working with slides instead of a single recorded video. You can update the text or layout without recording the entire video again.
For example, if a slide says:
Great
and you want the wording to be clearer, edit the slide and return to the main timeline. The video updates with the new slide content.
Step 6: Polish The Layout
Before exporting, adjust the visual layout:
- center important content,
- resize the slide,
- move the camera overlay,
- add rounded corners if it improves the look,
- make sure text is readable.
Do not overdo this on the first video. The goal is to make the result clear and clean, not to spend an hour polishing every frame.
Step 7: Export
When the preview looks right, export the video.
Use the first export as a test. Watch it once without editing. You will notice one or two timing or layout issues. Fix those, export again, and stop when the video communicates the point clearly.
Common Mistakes
Recording too early. Put the visual structure on the timeline before adding voiceover or camera.
Treating the first export as final. Always watch the exported file once.
Trying to make the first video complex. Start with one clear idea, a few slides, and one recording layer.
Exercise
Make a 30-second Mont video with this structure:
Slide 1: what the video is about
Slide 2: the main feature or idea
Slide 3: the result
Camera or voiceover: one short explanation
Export it, watch it, and make one timing improvement.